DVR Writing
All data included in the DVR is taken from information entered into the 4HSE system to describe and manage workplace safety. Therefore, the first step is to complete the necessary sections of the platform, following the instructions below.
Enter office-related information
Section titled “Enter office-related information”This step involves replicating the company structure and current safety setup within 4HSE. Proceed as follows:
-
Open an office
-
Go to the Human Resources menu:
- Link the PEOPLE
- Go to the Material Resources menu:
-
Add or import ENVIRONMENTS
-
Add or import EQUIPMENT
-
Add or import SUBSTANCES
- Go to the Work Phases menu:
- Create the Work Phases
- Go to the Safety Organization menu:
-
Add the ROLES
-
Assign the NOMINATED PERSONS
- Go to the Actions menu:
-
Add TRAINING courses
-
List PPE (Personal Protective Equipment)
-
Plan MAINTENANCE activities
-
List PROCEDURES
Perform risk assessment
Section titled “Perform risk assessment”In the Work Phases menu:
- Open a work phase:
-
Associate the SOURCES
-
List the HAZARDS (by creating or linking them)
-
Identify RISKS (by marking a hazard as “PRESENT”)
-
Associate RISK MANAGEMENT ACTIONS
-
Assign the PEOPLE involved in the phase
-
Link suppliers (only for DUVRI)
- Assess a risk:
-
Open the risk matrix by clicking the RISK ASSESSMENT button within each “Risk” item
-
Enter the INITIAL PROBABILITY AND DAMAGE values to define the INITIAL RISK
-
Enter the PROBABILITY AND DAMAGE IMPACT values for each mitigation action to calculate the RESIDUAL RISK
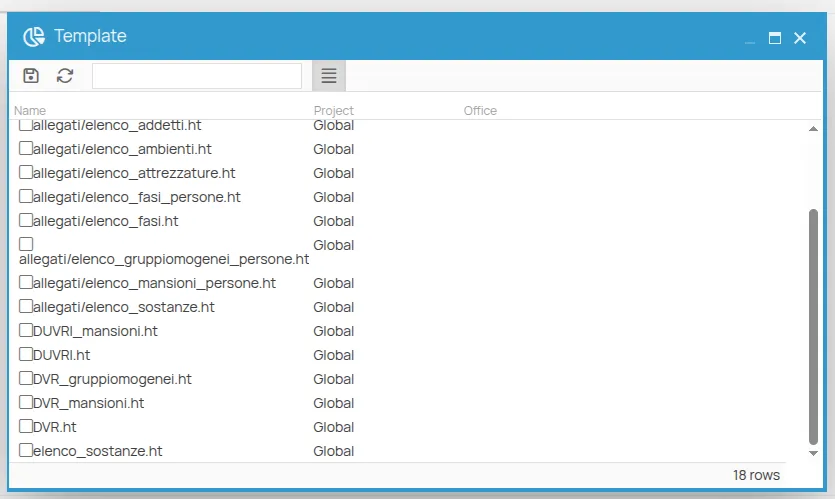
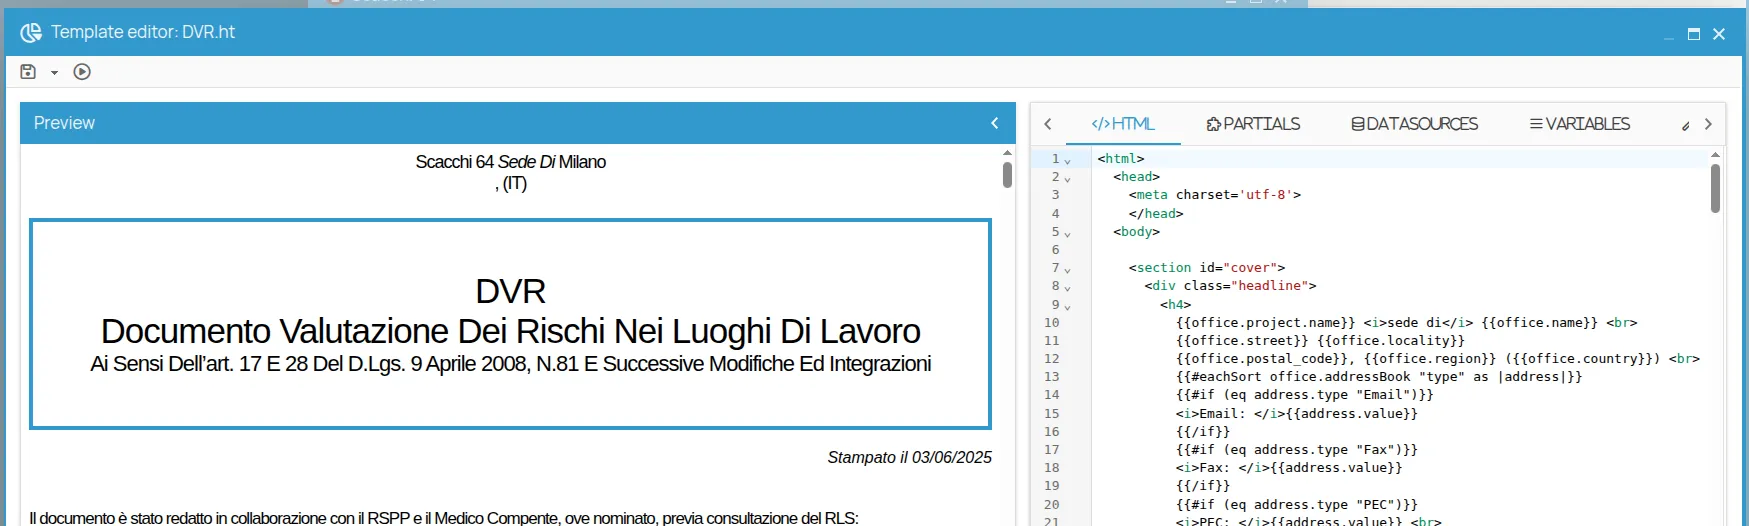
Edit and save a template
Section titled “Edit and save a template”When accessing the document print menu, in addition to selecting an available template, you can customize it by editing the underlying HTML. Choose one from the list using the
Click to view and edit the related HTML code. A preview editor will open, with the code editor on the right and a live preview on the left.
Once you’ve made changes, you can save your version using the icon.
Select the desired destination within the related “Archive” file system and click “Save”.
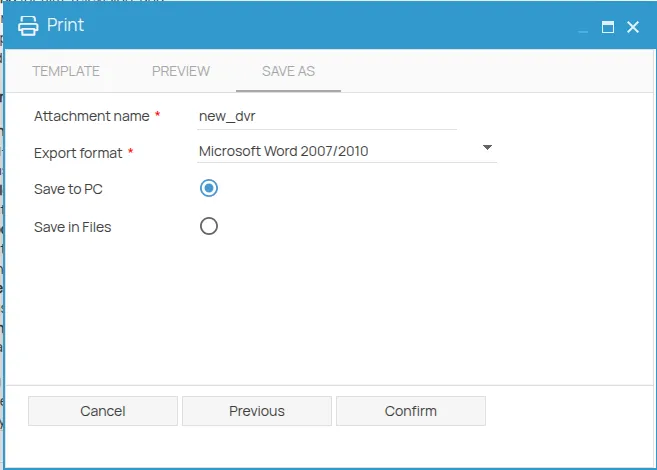
The modified file will be used automatically for the first export of the document and will then appear in the list of available templates for that document.