Importing and Exporting Lists
You can import and export .csv files for quick and automated population of various sections. Here’s how:
Exporting
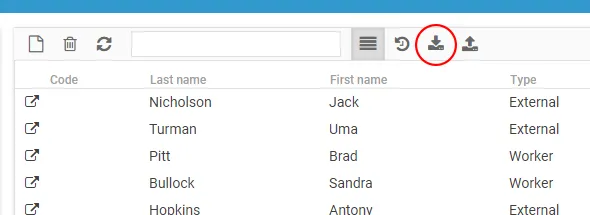
Section titled “Exporting”By clicking the CSV export icon in the grid toolbar, an options dialog will open allowing you to choose the export mode.
Export options
Section titled “Export options”The dialog offers two modes:
- Export visible columns only (default) — the
.csvfile will include only the columns currently visible on screen, preserving the sort order applied to the grid. - Export all columns — the
.csvfile will include all available columns. In this mode, sorting is not applied.
Importing
Section titled “Importing”You can import data in .csv format by clicking the corresponding icon in the grid toolbar.

A guided import wizard will then start. Here are the steps to follow to import a .csv list into the platform.
Step 1: Select the .csv file
Section titled “Step 1: Select the .csv file”After clicking the “Import” button under the Select file tab, drag and drop or manually upload the .csv file to import.
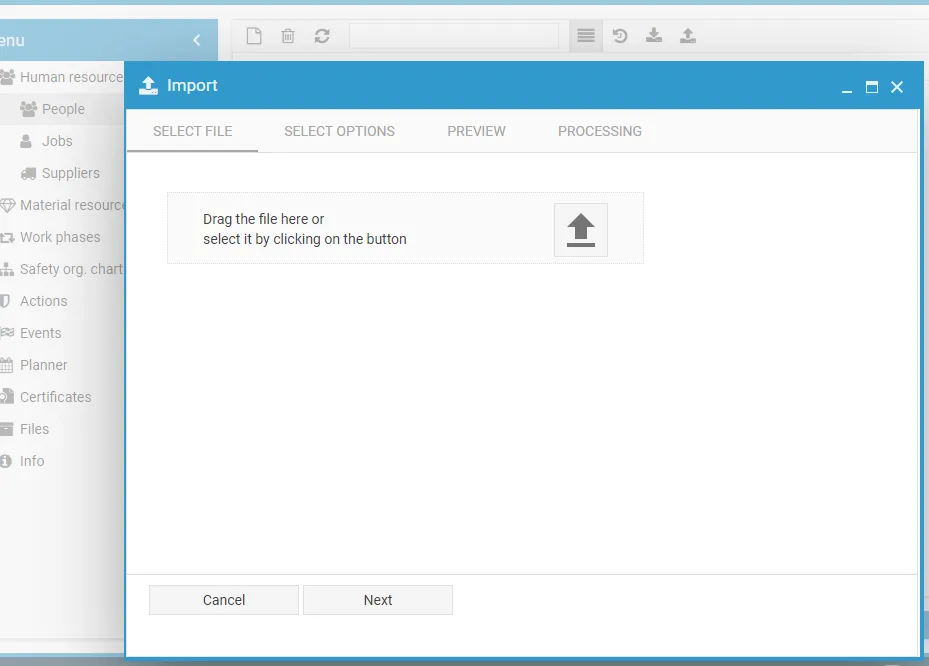
Once the file is selected, it will be uploaded to the system and you’ll proceed to the next step.
Step 2: Choose delimiters and data format
Section titled “Step 2: Choose delimiters and data format”Set the file reading parameters:
-
The Delimiter field lets you choose the character used to separate columns.
-
The Skip first row checkbox should be selected if the first row in the
.csvfile contains column headers.
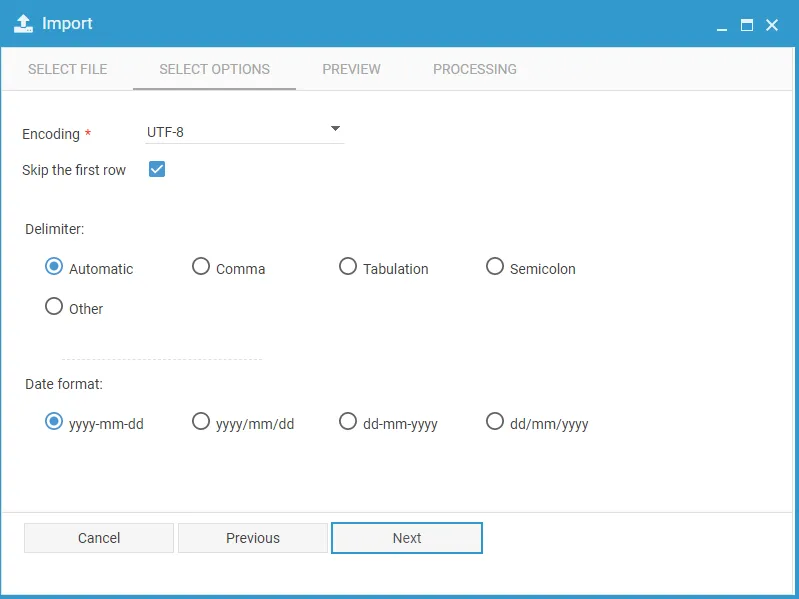
Once you’re done, click Next.
Step 3: Preview
Section titled “Step 3: Preview”In the Preview tab, you can choose which columns to import and assign the corresponding values.
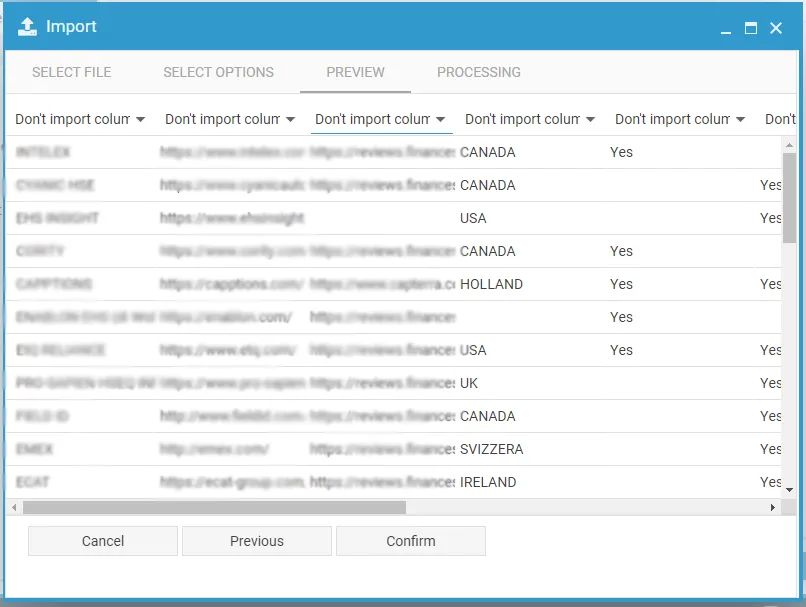
After reviewing the data, click Confirm to complete the import.