Permission Management
User permissions within a project are managed from the Permissions menu. This step is required when adding a new user to a project and allows you to define their operational privileges and data visibility. Permissions can be updated at any time, but keep in mind that changes may impact the user’s ability to operate within the system.
Understanding the 4HSE Project Structure
Section titled “Understanding the 4HSE Project Structure”Permissions are closely tied to the project structure in 4HSE, which can be visualized as a nesting doll: The project is the outermost container, within which you’ll find offices, their associated actions, and these are grouped into functional areas.
Project-Level Permissions
Section titled “Project-Level Permissions”These define a user’s access and operational capabilities across the entire project, regardless of office or functional area.
-
admin: Grants administrator privileges, including read, write, ability to add users, and access to project configuration and contract menus. Admins can also create new offices.
-
manager: Grants read and write access, but cannot view the following sections:
-
Permissions
-
User logs
-
Contract
-
Configuration
-
user: Grants read-only access to existing offices and their internal areas (people, actions, etc.)
-
na: “No access”, meaning the user has no or very limited access to the project.
Configuring Project Permissions
Section titled “Configuring Project Permissions”To assign project permissions, open the Permissions menu from the project dashboard, select an existing user or register a new one, and assign the desired role using the dropdown menu.

The first user added to a project is automatically assigned the admin role. This can be changed, as long as at least one other admin exists in the project.
Office-Level Permissions
Section titled “Office-Level Permissions”These allow you to define permissions for specific offices and functional areas.
-
manager: Grants read and write access to all data in the office.
-
user: Grants read-only access to all data in the office.
-
guest: Grants limited read-only access to selected sections:
-
Human Resources
-
Material Resources
-
Work Phases
-
Safety Organization
-
Actions
-
na: “No access”, the user cannot view or manage data within the office.
Configuring Office Permissions
Section titled “Configuring Office Permissions”Office permissions are dependent on project-level permissions.
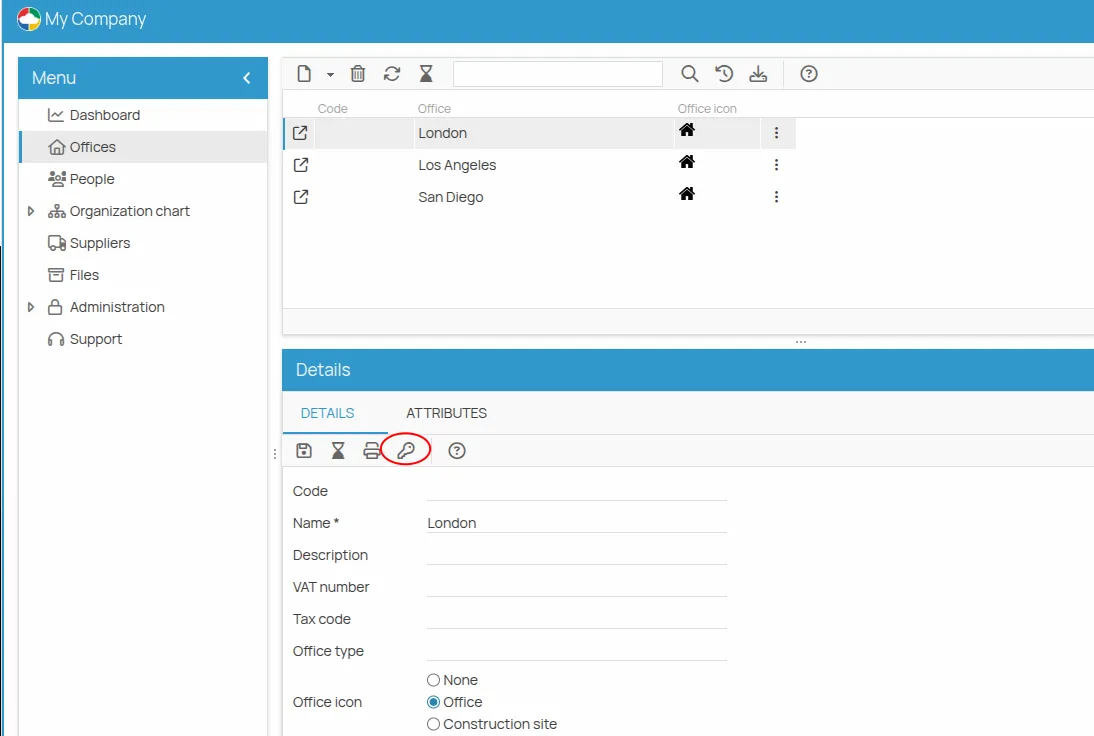
To assign them, go to the relevant office, click on the key icon (Permissions), and you will be able to view and modify each user’s access level for that office.
Permissions icon:
Permissions configuration:
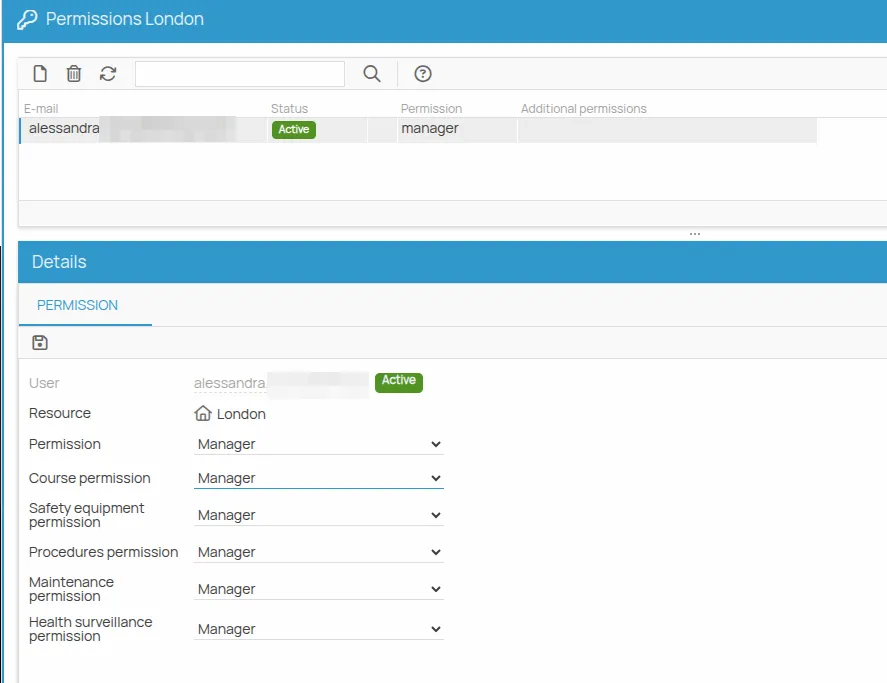
In this screen, you can also configure area-level permissions, explained in the next section.
Area-Level Permissions
Section titled “Area-Level Permissions”These can be combined with project- and office-level permissions to fine-tune access for specific functional areas.
For example, a user with user permissions at the project level can be granted manager permissions only for the “Training” area of certain offices. This allows the user to view data from all other areas (thanks to the user permission) while having write access in the training area.
Managing Area-Level Permissions
Section titled “Managing Area-Level Permissions”To strictly limit access and grant write permissions only to specific functional areas, you should:
-
Assign the project-level role “na” (no access)
-
Open the Offices tab and click the blue icon next to the target office
-
In the “Permissions for Office Name” window, assign the “guest” role at the office level
-
Then assign the desired role for each functional area
User-to-Person Permissions
Section titled “User-to-Person Permissions”For information about managing user-to-person permissions and understanding the concept of an associated user, refer to the Associated Person document.