Adding Users and Managing Permissions
A user is an entity that authenticates into the application, accesses the software, and uses its features. Each user can be assigned to one or more projects and locations, and can be associated with a person within the system (for more information on the user-person association, see the Related User guide).
Assigning users to specific projects, locations, or functional areas can result in different permission levels, enabling them to view, modify, or manage data and resources according to their role and responsibilities.
To add a new user to a project, follow these steps:
-
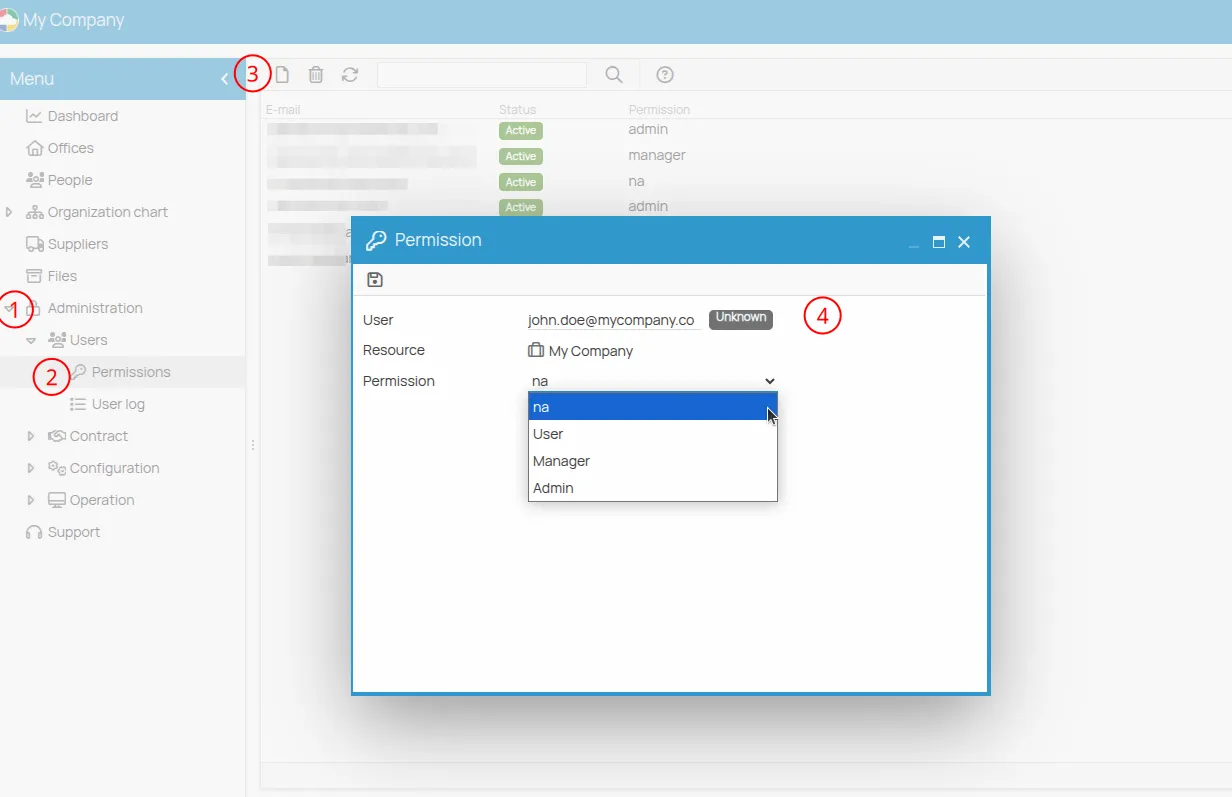
Open a project and go to the Permissions menu under the Administration section.
-
Click on the New icon.
-
Fill in the User field by entering a valid email address.
-
Assign the desired permission (to learn more about managing user roles, see the Permissions System guide).
-
Click the Save icon. Once the user has been created, you can modify their permissions in the Details section at the bottom.
The new user will receive an email invitation to collaborate on the project with the assigned permissions. The user’s status will appear as “pending” until they log in for the first time, after which it will change to “active”.